How to Resize Images Online Without Losing Quality
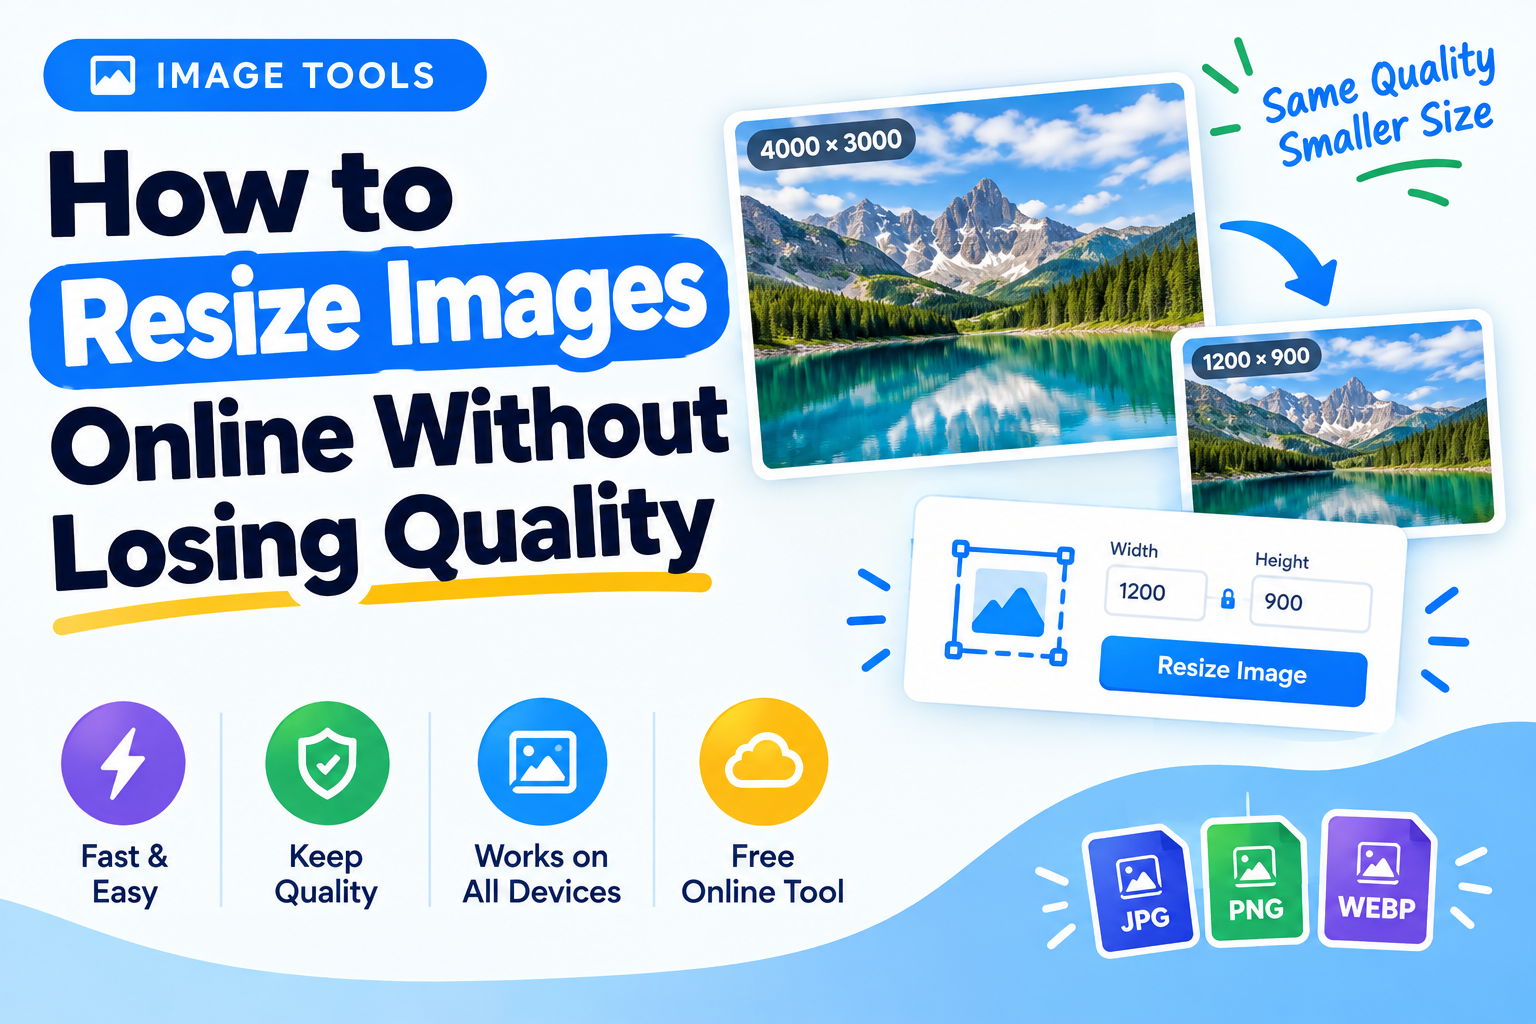
Images are essential for websites, social media, online stores, blogs, presentations, and digital marketing. However, using images at unnecessarily large dimensions can increase file sizes, slow down webpages, and create a poor experience for visitors.
The good news is that you usually do not need expensive desktop software to resize photos. A modern image resizer can change image dimensions directly in your browser, making it easy to prepare images for websites, social media platforms, email, and other digital projects.
In this guide, we will explain how image resizing works, how to resize images online without unnecessarily reducing quality, what dimensions you should consider, and how resizing differs from compression.
What Is an Image Resizer?
An image resizer is a tool that changes the pixel dimensions of an image.
For example, an original photograph might be 4000 × 3000 pixels. If the image is being used on a website and only needs to appear at around 1200 pixels wide, keeping the original dimensions may be unnecessary.
An image resizer can reduce the dimensions to something more appropriate, such as:
- 1200 × 900 pixels
- 1000 × 750 pixels
- 800 × 600 pixels
The exact dimensions depend on where the image will be used.
Image resizing is different from simply cropping an image. Resizing changes the overall dimensions while maintaining the image content. Cropping removes part of the image.
Why Resize Images?
Large images can cause several practical problems.
1. Better Website Performance
Large images can take longer to download. If a webpage contains several high-resolution photographs, visitors may have to wait longer before the page becomes fully usable.
Reducing image dimensions can decrease the amount of data that needs to be delivered.
This makes image resizing an important part of image optimization and overall web performance.
2. Faster Uploads
Large photos can take longer to upload to websites, forms, content management systems, and social media platforms.
A properly resized image can make the upload process faster and more convenient.
3. Easier Social Media Management
Social media platforms often display images in specific layouts and dimensions.
Instead of uploading an unnecessarily large photograph, you can resize photos to dimensions appropriate for the platform and content type.
4. Smaller Storage Requirements
Thousands of high-resolution photographs can consume substantial storage space.
Resizing images before archiving or publishing them can help reduce unnecessary storage usage.
5. Better Content Workflows
Creators, bloggers, designers, marketers, and developers frequently need to prepare images for different purposes.
A simple photo resizer makes it easier to create versions of the same image for websites, social media, documents, thumbnails, and other projects.
How Does Image Resizing Work?
Digital images consist of pixels arranged in rows and columns.
An image that is 2000 × 1500 pixels contains more pixels than an image that is 1000 × 750 pixels.
When you reduce an image, the image processing software calculates new pixels based on the surrounding pixels. This process is commonly called resampling.
A good resizing algorithm attempts to preserve important details while producing a new image with fewer pixels.
For example:
Original:
- Width: 3000 pixels
- Height: 2000 pixels
Resized:
- Width: 1500 pixels
- Height: 1000 pixels
The aspect ratio remains the same, but the dimensions are reduced by 50%.
What Is Aspect Ratio?
Aspect ratio describes the proportional relationship between an image's width and height.
For example:
- 1920 × 1080 = 16:9
- 1200 × 1200 = 1:1
- 1200 × 1600 = 3:4
When you resize an image, keeping the original aspect ratio is usually important.
If the aspect ratio changes accidentally, the image can look stretched or compressed.
For example, changing a 1600 × 1000 image to 1000 × 1000 without cropping or proper scaling can distort the original photograph.
A quality image editor or image resizing tool should provide an option to maintain the aspect ratio.
How to Resize an Image Online
Using a browser-based image tool is one of the easiest ways to resize a photograph.
A typical workflow looks like this:
Step 1: Select Your Image
Choose the JPG, JPEG, PNG, or other supported image you want to resize.
Step 2: Enter the Desired Dimensions
Enter either the new width or height.
If the tool maintains the aspect ratio, the other dimension can be calculated automatically.
Step 3: Check the Preview
Look at the resized image before downloading it.
Make sure important details remain clear and that the image has not been distorted.
Step 4: Choose an Output Format
Depending on the original image and intended use, you may choose formats such as JPEG or PNG.
JPEG is commonly used for photographs, while PNG can be useful when transparency or certain types of graphic content are important.
Step 5: Download the Resized Image
Save the new image and use it on your website, social media profile, presentation, or other project.
A browser-based workflow is particularly useful when you need a free image resizer without installing desktop software.
Resize Image vs Compress Image
Image resizing and image compression are related but different processes.
Image Resizing
Resizing changes the pixel dimensions of an image.
For example:
3000 × 2000 → 1500 × 1000
Image Compression
Compression reduces the amount of data required to store or transmit an image.
An image can sometimes be compressed without changing its dimensions.
For example:
- 2000 × 1500 pixels
- File size: 3 MB
After compression:
- 2000 × 1500 pixels
- File size: 900 KB
The dimensions remain unchanged.
For the best image optimization, you may need both processes. First determine whether the image dimensions are appropriate, then compress the image if the resulting file is still larger than necessary.
You can use the TrendPro Image Compressor when you need to reduce file size after resizing.
How to Resize JPEG Images
JPEG is one of the most common formats for photographs.
When performing a JPEG resize, consider the final purpose of the image.
For example, a large camera photograph might not need to remain at its original resolution when it is being displayed as a website thumbnail.
When resizing JPEG images:
- Maintain the original aspect ratio.
- Avoid repeatedly saving the same JPEG.
- Use appropriate dimensions for the destination.
- Check the final image at normal viewing size.
- Compress the image after resizing if necessary.
JPEG uses lossy compression, so repeatedly editing and saving the same file can gradually reduce quality.
For that reason, it is generally better to keep an original copy and create resized versions from the original.
How to Resize PNG Images
PNG is widely used for graphics, logos, screenshots, illustrations, icons, and images that require transparency.
A PNG resize works similarly to resizing a JPEG, but the final file size can vary considerably depending on the content.
PNG files containing large areas of simple graphics can behave differently from photographic images.
If your PNG contains transparency, make sure the resizing tool preserves the alpha channel when that transparency is required.
For photographs, JPEG or another suitable modern image format may sometimes produce a smaller file than PNG.
Recommended Image Dimensions for Websites
There is no single image size that is correct for every website.
The right dimension depends on where the image will appear.
For example:
| Use Case | Example Dimension | | --------------------- | ----------------- | | Blog featured image | 1200 × 630 | | Website content image | 1200 × 800 | | Square thumbnail | 1000 × 1000 | | Small thumbnail | 600 × 400 | | Website banner | 1600 × 600 | | Product image | 1200 × 1200 |
These are examples rather than universal requirements.
Before resizing an image, check the actual dimensions required by your website design, CMS, theme, or publishing platform.
Uploading a 5000-pixel-wide photograph when the page only displays it at 1000 pixels wide may waste bandwidth and storage.
Resizing Images for Social Media
Social media platforms use different layouts and image specifications, and those specifications can change over time.
Instead of relying on one universal size, prepare images according to the platform and content format you are targeting.
Common considerations include:
- Square images
- Portrait images
- Landscape images
- Profile images
- Cover images
- Story and short-form vertical content
- Advertisement graphics
For social media images, it is especially important to preview the final result because automatic cropping by the platform can remove important parts of the image.
Keep important text, faces, logos, and other essential elements away from areas that may be cropped.
How to Resize Photos Without Losing Quality
Technically, reducing an image's dimensions means discarding some pixel information. Therefore, "without losing quality" usually means reducing dimensions while keeping the result visually sharp and appropriate for its intended use.
Follow these practices:
Start With the Original
Always keep an original, high-quality version of your photograph.
Create resized copies rather than repeatedly resizing an already resized image.
Avoid Extreme Reductions
Reducing a 6000-pixel image to 300 pixels may remove a significant amount of detail.
Choose dimensions based on the actual display requirements.
Maintain Aspect Ratio
Use proportional resizing whenever possible.
This prevents stretching and distortion.
Use Appropriate File Formats
Choose an output format based on the image.
Photographs often work well with JPEG, while graphics and transparent assets may benefit from PNG or another appropriate format.
Preview Before Downloading
Zoom in on important areas and check whether text, edges, faces, and other details remain clear.
Should You Resize Before or After Compression?
In many workflows, it makes sense to resize first and compress afterward.
For example:
- Start with a 4000 × 3000 photograph.
- Resize it to 1600 × 1200.
- Compress the resized image.
- Check the final quality and file size.
- Upload the optimized version.
This approach avoids spending compression effort on pixels that you do not need in the final image.
However, the best workflow can vary depending on the image format and processing software.
Image Resizing for Website SEO
Image resizing is not a direct ranking trick, but it can contribute to a better technical website experience.
Oversized images can increase page weight and affect loading performance.
Better image preparation can help you:
- Reduce unnecessary data transfer.
- Improve page loading times.
- Improve mobile performance.
- Reduce bandwidth usage.
- Create a better user experience.
Image optimization should therefore be considered part of a broader performance strategy rather than a standalone SEO technique.
Other factors such as responsive images, modern image formats, caching, lazy loading, and efficient page code can also influence performance.
Browser-Based Image Tools
Modern online image tools make basic image processing accessible without installing specialized software.
A browser-based workflow can be useful when you are working from:
- Windows
- macOS
- Linux
- Chromebooks
- Tablets
- Mobile devices
For simple tasks, you may not need a large image editor with hundreds of features.
A focused image utility can be faster when you only need to resize a photo and download the result.
This is one reason browser-based utilities are useful for everyday creator and productivity workflows.
Image Resizing for Bloggers
Bloggers frequently need several versions of an image.
A single original photograph might be used as:
- A featured image
- An article image
- A social media preview
- A thumbnail
- An email image
Instead of using the full-resolution original everywhere, create versions appropriate for each use case.
This can improve website performance and make content management easier.
If you publish frequently, having a repeatable image workflow can save significant time.
Image Resizing for Graphic Design
Graphic designers often work with high-resolution assets and need to prepare them for different destinations.
For example, a design may need to be exported for:
- Websites
- Presentations
- Social media
- Digital advertisements
- Email newsletters
- Print previews
When resizing graphics, pay particular attention to text and vector-like elements.
Small text can become difficult to read after significant reduction.
For designs that need to remain editable, keep the original project file and export resized versions separately.
Image Resizing for Creators
Content creators often work with photographs, screenshots, thumbnails, promotional graphics, and video-related images.
A simple photo resizer can help prepare these assets quickly without opening a full desktop graphics application.
For creators who publish across multiple platforms, maintaining original files plus platform-specific resized copies can make the workflow much easier.
This is where practical creator tools and free online tools can become useful parts of a daily workflow.
Common Image Resizing Mistakes
Resizing Without Maintaining Aspect Ratio
This can make people, objects, and graphics appear stretched.
Using the Wrong Dimensions
An image can be technically high quality but still be poorly suited to its destination.
Repeatedly Resizing the Same JPEG
Repeated lossy JPEG processing can degrade image quality.
Replacing the Original
Never overwrite your only high-resolution original with a smaller version.
Ignoring File Size
A resized image can still be unnecessarily large.
If the image is still too heavy, compression may be required.
Resizing Too Much
Reducing an image more than necessary can remove useful detail and make text or fine features difficult to see.
When Should You Use an Image Converter?
Sometimes the problem is not image dimensions but file format.
For example, you may have a PNG but need a JPEG, or a WebP image that needs to be converted for compatibility with another application.
In those cases, an image converter is more appropriate than a simple resizer.
You can use the TrendPro Image Converter when you need to change the image format.
A complete image workflow may therefore look like:
- Resize the image.
- Convert the format if necessary.
- Compress the final image.
- Check quality and dimensions.
- Publish or upload it.
Is an Online Image Resizer Safe?
The answer depends on how the particular service handles uploaded files.
Before uploading sensitive or confidential images, check the service's privacy policy and understand whether files are stored, processed temporarily, or deleted automatically.
For private documents, identity documents, confidential business materials, or unreleased designs, consider whether uploading the image to any third-party service is appropriate.
For ordinary website graphics and public photographs, an online image resizer can be a convenient option.
Free Image Resizer vs Desktop Software
A desktop image editor provides extensive control over layers, color correction, retouching, filters, masks, and advanced image processing.
However, that level of functionality is unnecessary for many simple tasks.
A free image resizer is often sufficient when you only need to:
- Change width and height.
- Maintain aspect ratio.
- Prepare website images.
- Resize social media images.
- Create smaller copies.
- Process images quickly.
The right choice depends on the complexity of the task.
Best Practices for Image Optimization
A practical image optimization workflow should consider both dimensions and file size.
Use these guidelines:
- Keep the original high-quality image.
- Determine the required display dimensions.
- Resize the image proportionally.
- Choose an appropriate image format.
- Compress the resized version when necessary.
- Check visual quality before publishing.
- Avoid unnecessarily large dimensions.
- Keep important content away from likely social-media crop areas.
- Use responsive image techniques on websites where appropriate.
- Keep separate versions for significantly different use cases.
These steps can help you build a more efficient image-processing workflow.
Frequently Asked Questions
What is the best way to resize an image?
The best approach is to resize the original image to the dimensions actually required by its destination while maintaining the aspect ratio. After resizing, check the quality and compress the result if necessary.
Can I resize an image online for free?
Yes. Many browser-based utilities provide basic image resizing without requiring professional desktop software. A free image resizer can be useful for everyday website, social media, and creator workflows.
Does resizing an image reduce quality?
Reducing an image's dimensions removes some pixel information, so technically some information is lost. However, if the new dimensions are appropriate for the intended display size, the result can remain visually sharp.
Is resizing the same as compression?
No. Resizing changes image dimensions, while compression primarily reduces file size by changing how image data is stored. You may use both techniques as part of image optimization.
Should I resize JPEG or PNG images differently?
The resizing process is fundamentally similar, but the final format and compression behavior differ. JPEG is commonly suited to photographs, while PNG is often useful for graphics and images requiring transparency.
What happens if I resize an image without keeping its aspect ratio?
The image may become stretched or squashed. Maintaining the original aspect ratio usually prevents this type of distortion.
Should I resize images before uploading them to a website?
Usually, yes, if the original dimensions are significantly larger than what the website actually displays. Preparing appropriately sized images can reduce unnecessary data transfer and improve page performance.
Can I resize photos on a phone?
Yes. Browser-based image tools can work on many modern mobile devices, provided the tool supports the image format and browser being used.
What is the difference between an image editor and an image resizer?
An image editor generally provides many editing features such as cropping, filters, color adjustments, retouching, and drawing. An image resizer focuses specifically on changing image dimensions.
Final Thoughts
Resizing images is one of the simplest ways to prepare digital content for websites, social media, blogs, and creator projects.
The goal is not to make every image as small as possible. The goal is to use dimensions that are appropriate for the final destination while preserving enough visual quality for the intended audience.
A practical workflow is to start with the original image, determine the required dimensions, maintain the aspect ratio, resize the image, and then compress it if necessary.
For everyday image processing, browser-based utilities can make this workflow fast and accessible without requiring complex software.
If you regularly work with images, you can use TrendPro's Image Resizer to change image dimensions, Image Compressor to reduce file size, and Image Converter to change image formats.
These simple image tools can help make everyday image preparation faster, especially for websites, social media, blogs, and other digital projects.