
If you need to remove the background from an image, the easiest option is to use an online background remover that automatically separates the main subject from the background. You can then download the result as a transparent PNG and use it on websites, product listings, social media graphics, presentations or online stores.
This is especially useful when you need to remove a white background from an image, create a transparent product photo, clean up a logo or prepare an image for an eBay, Etsy or Amazon listing.
With the right tool, the process takes only a few steps and does not require Photoshop or other desktop software.
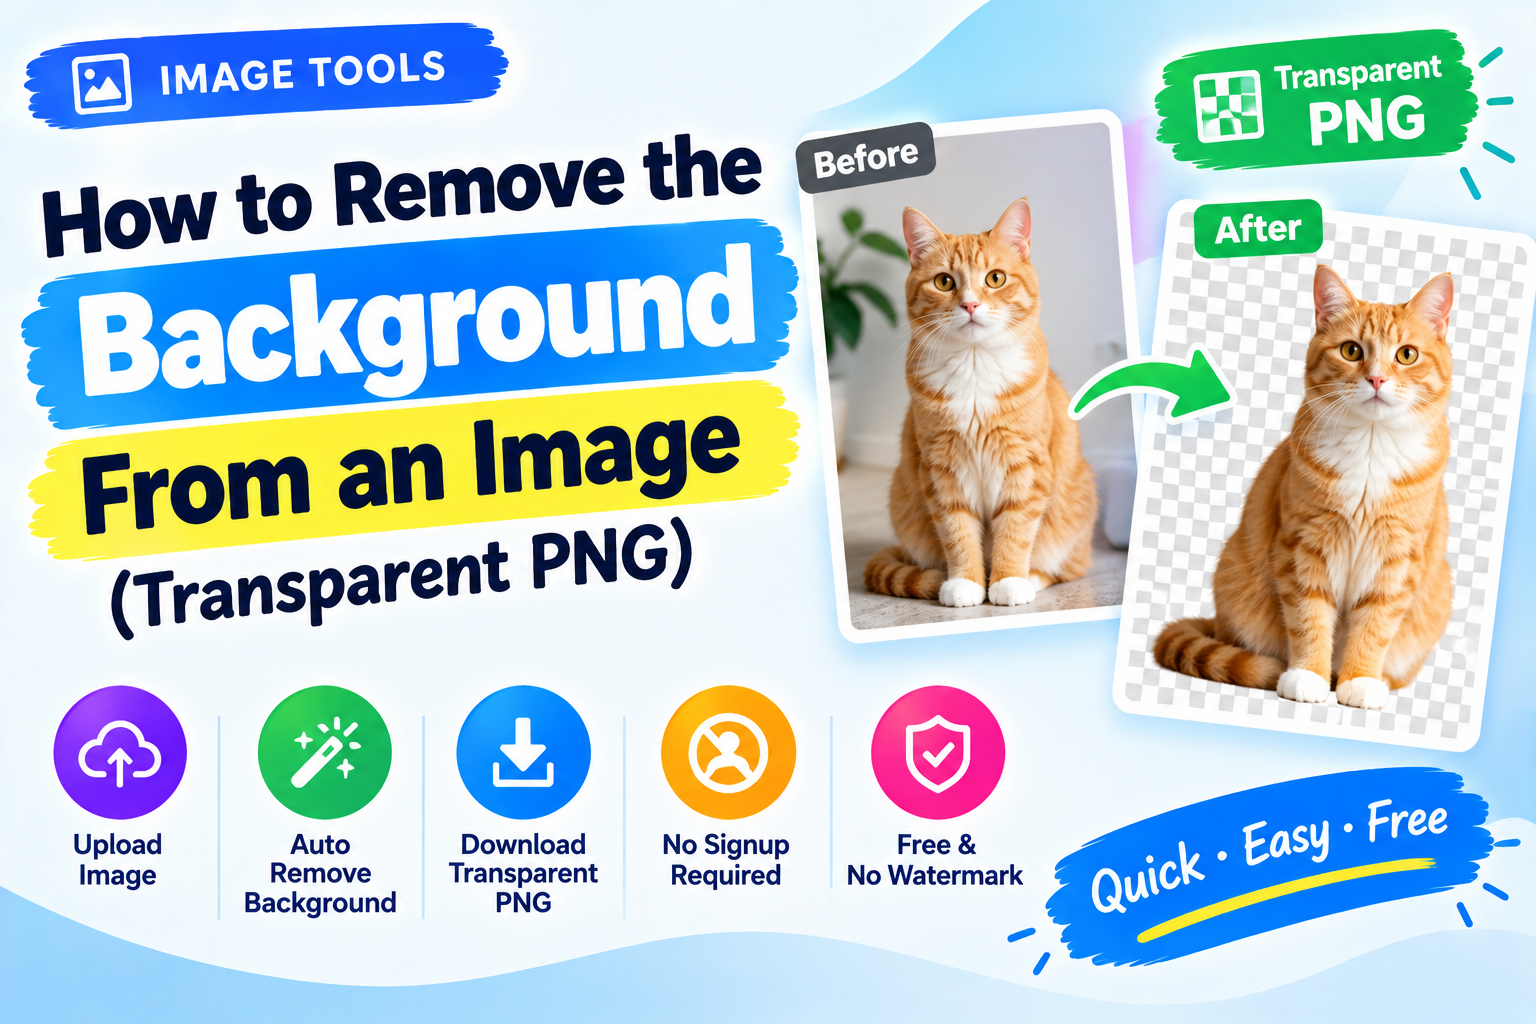
What Does Removing an Image Background Mean?
Removing a background means separating the main subject of an image from everything behind it.
For example, imagine a product photograph taken against a white table. A background remover can detect the product, remove the table and surrounding area, and leave the product with a transparent background.
The result can look like this conceptually:
Original photo → Background removed → Transparent PNG
The transparent areas are not filled with white. They are actually transparent, which means whatever is behind the PNG can show through.
This makes the image much more flexible for design and online publishing.
How to Remove the Background From an Image
The quickest method is to use the Image Background Remover.
The basic process is:
- Open the Image Background Remover.
- Upload your image.
- Let the tool detect and remove the background.
- Preview the result.
- Download the transparent PNG.
You do not need to manually trace around the subject with a mouse.
For simple images, the automatic result can be ready within seconds.
How to Make a Background Transparent
A transparent background is different from a white background.
A white background contains actual white pixels. A transparent background contains no visible background pixels in those areas.
This is particularly useful when you want to place the same product, logo or person over different backgrounds.
For example, a transparent product image can be placed on:
- A white website
- A coloured banner
- A promotional graphic
- A social media post
- An online store
- A presentation
- A product comparison page
The image can blend into its new surroundings instead of showing a rectangular white box around the subject.
Step-by-Step: Remove a Background Online
Step 1: Choose Your Image
Start with a photo where the main subject is reasonably clear.
Good examples include:
- Product photographs
- Portraits
- Shoes
- Clothing
- Bags
- Electronics
- Furniture
- Logos
- Simple illustrations
Images with clear separation between the subject and background are generally easier for automatic background removal.
Step 2: Upload the Image
Open the Image Background Remover and upload your image.
The tool processes the image and attempts to identify the foreground subject.
Step 3: Download the Transparent PNG
After the background has been removed, preview the result.
If the edges look correct, download the transparent PNG.
Keep the original image as a backup. If you later need to make changes, having the original file gives you more options.
Remove White Background From an Image
One of the most common background-removal tasks is removing a plain white background.
This is useful for:
- Product photos
- Logos
- Catalogue images
- Marketplace listings
- Profile graphics
- Scanned signatures
- Simple illustrations
A white background may look clean, but it can become inconvenient when the image needs to be placed on a coloured page.
For example, a product photographed against white may appear as a rectangular white image when placed on a dark website.
Removing the white background allows the product itself to remain while the surrounding area becomes transparent.
How to Remove a White Background From a Logo
Logos often need transparent backgrounds because they are placed on websites, business cards, advertisements and social media graphics.
Suppose you have a logo saved as a JPG with a white background.
You can:
- Upload the logo to the background remover.
- Remove the white background.
- Download the result as PNG.
- Place the transparent logo on your preferred background.
However, logos can sometimes contain small details, thin lines or text that are difficult to separate from the background.
Always zoom into the final result and check the edges.
Remove Background From a Product Photo
Background removal is particularly useful for ecommerce.
A product image with a clean transparent background can be used across multiple designs without photographing the product again.
This can be useful for:
- Amazon product images
- Etsy listings
- eBay listings
- Shopify stores
- Product catalogues
- Social media advertisements
- Website product pages
For example, if you sell a pair of shoes, you may want the shoes isolated from the original room, table or floor.
After removing the background, the product can be placed on a consistent store background.
Product Photos for Amazon, eBay and Etsy
Different marketplaces have their own image requirements, so removing the background is only one part of preparing a product image.
Before uploading, check the marketplace's current rules for:
- Background colour
- Image dimensions
- File format
- Minimum resolution
- Product positioning
- Margins around the product
- Allowed text or graphics
A transparent PNG can be useful during the editing process even if the marketplace ultimately requires a particular background or format.
Do not assume that every marketplace accepts transparent PNG files for every type of listing.
How to Remove Background From a JPG
JPG images cannot store transparency in the same way that PNG images can.
That does not mean you cannot remove the background from a JPG.
The normal workflow is:
JPG → Remove background → Export as PNG
The JPG is used as the source image. After the background is removed, the transparent result is saved in a format that supports transparency.
This is why you will often see background-removal tools provide PNG as the output format.
Which Image Format Keeps Transparency?
PNG is one of the most common image formats for transparent backgrounds.
PNG supports an alpha channel, which allows individual pixels to contain transparency information.
| Format | Transparency support | Common use |
|---|---|---|
| PNG | Yes | Logos, products and transparent graphics |
| JPG/JPEG | No | Photographs |
| WebP | Yes | Modern web images and transparent graphics |
| GIF | Limited | Simple graphics and animations |
WebP also supports transparency and can produce smaller files than PNG in many situations.
However, PNG remains a widely supported choice when you specifically need a transparent image.
PNG Transparent Background vs White Background
Consider a product image placed on two different websites.
With a white background:
Product + white rectangle
With transparency:
Product + transparent surrounding area
The transparent version can adapt to the background behind it.
This is why transparent PNG files are commonly used for logos, product cutouts, icons and design elements.
How to Check if a PNG Is Actually Transparent
A transparent image often appears with a checkerboard pattern in image-editing software.
The checkerboard does not become part of the final image. It is simply a visual way for the software to show transparent areas.
You can also place the PNG over a coloured background.
If the surrounding area changes with the background instead of remaining white, the image contains transparency.
How Good Does the Original Image Need to Be?
Background removal works best when the subject is clearly visible.
A high-quality image can provide better results because the tool has more detail to work with around the subject's edges.
For example, a product with:
- Good lighting
- Sharp edges
- Clear contrast
- Minimal motion blur
is generally easier to separate from its background.
A very blurry photograph with poor lighting can be more difficult.
Images With Complicated Backgrounds
Simple backgrounds are usually easier to remove.
A product photographed against a plain wall may be straightforward.
A product photographed in a busy room can be more challenging because the tool has to distinguish the subject from many objects and colours.
Complicated examples include:
- Hair against a similar-coloured background
- Transparent objects
- Glass
- Smoke
- Fine jewellery
- Plants with many thin leaves
- Objects with fuzzy edges
- Subjects with colours similar to the background
For difficult images, always inspect the edges carefully.
Hair and Fine Details
Hair is one of the more difficult areas in automatic background removal.
Individual hairs can be only a few pixels wide, especially in a small photograph.
The same applies to:
- Fur
- Grass
- Thin wires
- Tree branches
- Jewellery
- Fine fabric
- Feathers
A background remover may remove some of these details or leave small pieces of the original background behind.
For professional work, zoom in and inspect the result before publishing it.
Remove Background From a Logo
Logos often have different requirements from photographs.
A logo may contain:
- Text
- Thin outlines
- Small icons
- Transparent sections
- Multiple colours
- Sharp geometric shapes
If the original logo is available as an SVG or another vector format, keeping the vector version may be preferable for professional design work.
If you only have a JPG logo, a background remover can still help create a transparent PNG.
After processing, zoom in and check that letters and thin lines have not been damaged.
Remove Background Without Photoshop
You do not need Photoshop to remove a background from a normal image.
An online Image Background Remover can handle the basic workflow directly in your browser.
This is useful if you:
- Do not have image-editing software
- Are using a different computer
- Need a quick result
- Only need background removal occasionally
- Do not want to install software
For simple jobs, a browser-based tool can be much faster than opening a full image-editing application.
Remove Background Free With No Signup
If you only need to remove a background occasionally, a free browser-based tool can be more convenient than creating an account.
The Image Background Remover is designed for quick background-removal tasks without requiring a signup.
A good background-removal workflow should let you upload the image, process it and download the result without unnecessary steps.
Always check the output before using it commercially or for an important project.
Is a Transparent Background the Same as Removing the Background?
In most practical image-editing situations, removing the background means making the background transparent.
However, the two concepts are slightly different.
You can technically remove a background and replace it with another colour or image.
A transparent background means the original background is removed and the area is left transparent.
That is particularly useful when the image needs to be reused across multiple designs.
How to Get a Better Background Removal Result
You can often improve the final result by choosing a better source image.
Try to use a photo with:
- Good lighting
- Clear subject edges
- Reasonable contrast
- Minimal motion blur
- The entire subject visible
- A background that differs from the subject
If you are photographing products specifically for background removal, use even lighting and leave enough space around the product.
This can make automatic processing easier.
What to Do After Removing the Background
A transparent PNG is usually only the first step.
After removing the background, you may want to:
- Resize the image
- Compress the PNG
- Add a new background
- Place it on a product card
- Add text
- Create a social media graphic
- Add a shadow
- Convert it to another format
If the resulting image is too large for a website, you can use the Image Compressor to reduce its file size.
If the image needs specific dimensions, the Image Resizer can help prepare it for the final design.
Transparent PNG and Website Performance
Transparency is useful, but the resulting file can sometimes be larger than expected.
A large PNG containing a high-resolution product cutout may be several megabytes.
If the image is going on a website, consider compressing it before publishing.
The goal is to balance:
Image quality + transparency + file size
Do not automatically use the largest possible image.
If the image is displayed at 600 pixels wide, uploading a 4000-pixel version may unnecessarily increase the download size.
Should You Use PNG or WebP After Background Removal?
If you need maximum compatibility with design software and common workflows, PNG is a straightforward choice.
If the image is primarily for a modern website and your system supports WebP, WebP can provide a smaller file while retaining transparency.
A practical workflow is:
Background removal → Transparent PNG → Compress or convert → Website
Keep the transparent PNG as your master copy if you expect to edit or reuse the image later.
Common Background Removal Problems
The background was not completely removed
This can happen when the background and subject have similar colours or when the image contains complicated edges.
Try using a clearer source image or inspect the result at a higher zoom level.
Parts of the subject disappeared
Fine details such as hair, thin wires or transparent objects can sometimes be mistaken for background.
Use a higher-quality source image and check the processed image carefully.
There is a white outline around the subject
A light edge can remain when the original background is very bright or when the subject was photographed against white.
Zoom into the edges to determine whether the outline is part of the original image or a processing artifact.
The PNG still looks white
Check whether you are viewing it in an application that displays transparency as white.
Place the PNG over a coloured background to confirm whether the surrounding area is actually transparent.
The image became too large
Transparent PNG files can contain a lot of image data.
If the image is intended for a website, use the Image Compressor or resize it to the dimensions you actually need.
Background Removal for Online Stores
Product photography is one of the most practical uses for background removal.
An online store can use consistent product cutouts across:
- Product pages
- Category pages
- Search results
- Promotional banners
- Social media
- Email campaigns
- Product comparison graphics
Consistent images can make a store look more organised.
However, always follow the image requirements of the marketplace or platform where you plan to publish the product.
Background Removal for Social Media
Transparent images are also useful for social media content.
For example, a transparent product cutout can be placed over a promotional background with text and pricing.
A person can be isolated and placed into a different graphic.
A logo can be placed over a photograph without a large white rectangle around it.
Once the background is removed, you have much more flexibility when designing the final image.
Privacy Tips for Personal Photos
Be careful when uploading personal photographs to online image-processing services.
A photo may contain:
- Faces
- Identification documents
- Addresses
- Private locations
- Children
- Business information
- Other personal details
Before using an online tool, consider whether the image contains information you do not want to upload to a third-party service.
For ordinary product photos, logos and non-sensitive graphics, browser-based processing can be a convenient option.
Frequently Asked Questions
How do I make a JPG background transparent?
Upload the JPG to a background-removal tool, remove the unwanted background and export the result as PNG. JPG itself does not support transparency, so the final transparent image is normally saved as PNG or another format that supports an alpha channel.
Is there a free background remover with no watermark?
A free background-removal tool can provide a transparent result without requiring a watermark, but features and limits vary between services. With the Image Background Remover, you can remove a background without signup or adding a watermark to the result.
Which image format keeps transparency?
PNG supports transparency and is one of the most widely used formats for transparent images. WebP also supports transparency and can provide smaller files for web use. JPG does not support transparent pixels.
Can I remove a white background from a logo?
Yes. Upload the logo, remove the white background and export it as a transparent PNG. Check the result carefully because small text, thin lines and fine logo details can sometimes be affected.
Can I remove the background from a product photo?
Yes. Product photos are one of the most common uses for background removal. A clean product cutout can be used for ecommerce listings, advertisements, websites and social media graphics.
Does removing a background reduce image quality?
Background removal does not necessarily reduce the quality of the original subject, but the processing can affect fine edges and small details. Always compare the result with the original and keep the original file as a backup.
Can I remove a background without Photoshop?
Yes. An online background-removal tool can handle many common images directly in your browser. This is useful when you only need to remove a background and do not want to install professional image-editing software.
Quick Summary
To remove the background from an image, upload the photo to a background-removal tool, let it detect the subject, check the edges and download the result as a transparent PNG.
For the best results:
- Use a clear, sharp source image.
- Choose images with good contrast between the subject and background.
- Check hair and other fine details.
- Inspect product edges before publishing.
- Save the original image.
- Use PNG when you need broad transparency support.
- Compress or resize large transparent images before putting them on a website.
The process is especially useful for removing white backgrounds, creating transparent logos, preparing ecommerce product photos and making graphics for websites and social media.
Try the Image Background Remover to remove your image background without signup or a watermark. If the resulting PNG is too large, use the Image Compressor to reduce its file size, or the Image Resizer to prepare it for the dimensions you need.